Designing a Functional Therapy Office Layout
Designing a Functional Therapy Office Layout
Deciding on a functional layout is a crucial first step in any therapy office design. The therapeutic frame helps to organize, protect, and contain the therapy process. Similarly, a design layout provides a framework for your office space. It subtly directs your clients into the room and complements the therapeutic containment: here is where we do our work.
Identifying Therapy Office Zones
To create a layout for your office, start by considering all of the different services you provide – individual, couples, or group psychotherapy, psychological assessments, telehealth sessions, play therapy, art therapy, sand tray therapy, etc. Each service you offer needs a designated area, or zone. It’s okay for one zone to serve multiple functions – especially for smaller office spaces. The important thing is to ensure that every service or activity has a designated spot.
Most therapists need at least a talk therapy zone and a computer work zone. Group therapists often use their talk therapy zone for both group and individual therapy. Therapists who provide psychological assessments may want to use their desks for both computer work and assessments if they do not have room for two separate tables. Play, art, and sand tray therapists might have enough room to create a separate area for each of these creative modalities, or they may need clever storage solutions to make room for overlapping zones in their space.
Designing the Layout
After assessing which zones need to be included in the space, I like to draw a floor plan with accurate measurements to help me visualize the layout and decide which zone goes where. Floorplans give a helpful bird’s-eye view of all different office zones at the same time.

I often showcase the ‘talk therapy zone’ so it is closest to the office entryway or within direct line of sight from the entryway. This is because talk therapy is typically the main service therapists provide and the therapy zone often looks the most pulled together. If you mainly provide play therapy, adjust accordingly – your play space should be front and center!
Some therapists prefer to keep an unobstructed path between the therapy couch and the office door – ensuring patients feel free to exit at any time. If this aligns with your therapeutic approach, keep this in mind when designing your layout. Often there is a way to showcase the therapy couch from the entryway while still leaving space for a clear path to the door.
See It in Action
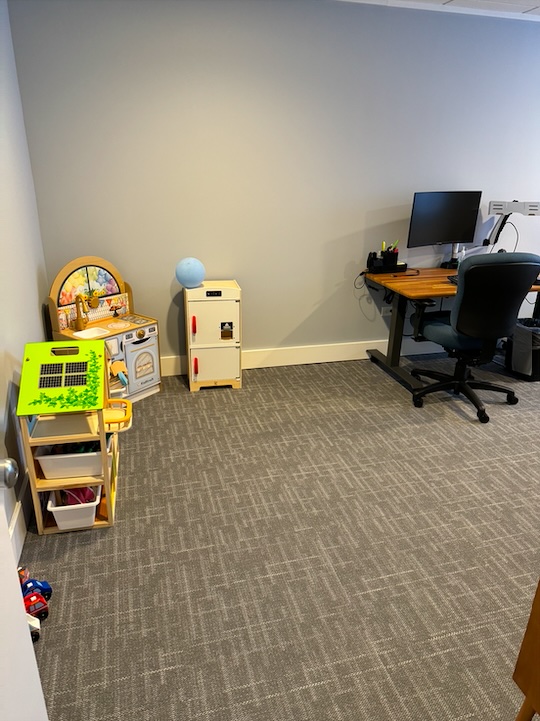
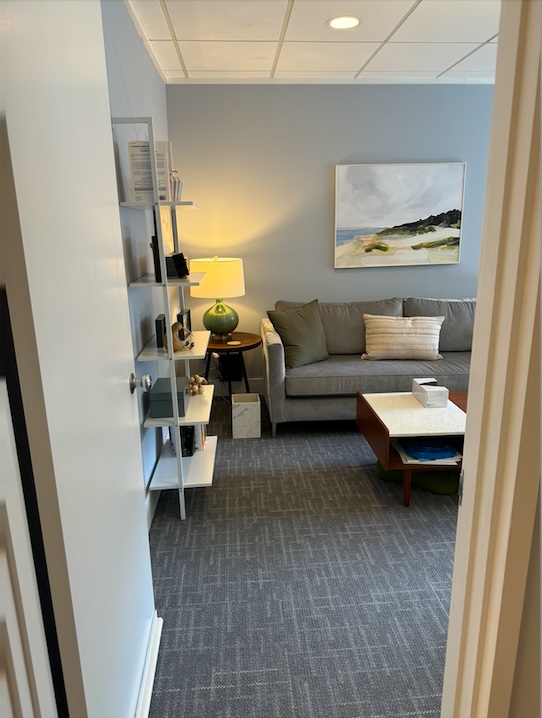
The following office design project exemplifies the power of well-designed office layout. Two therapists share this office space – one provides play therapy with kids, the other works with adults. In our initial design consultation, the therapists explained that they needed three zones: (1) a talk therapy zone; (2) a play therapy zone, and; (3) a work zone for telehealth calls and paperwork. Their office is long and narrow, making some overlap in zones inevitable.
They had initially designated space in the front of the office, near the entryway, for play therapy and computer work. These two “before” photos are taken from the doorway:

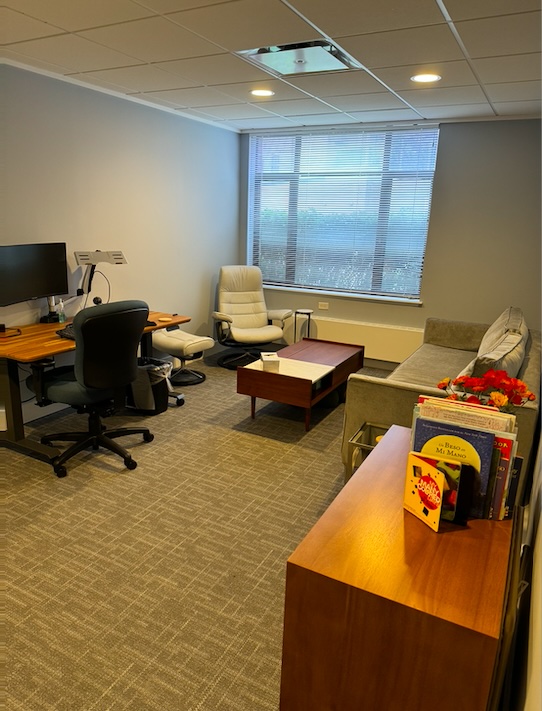
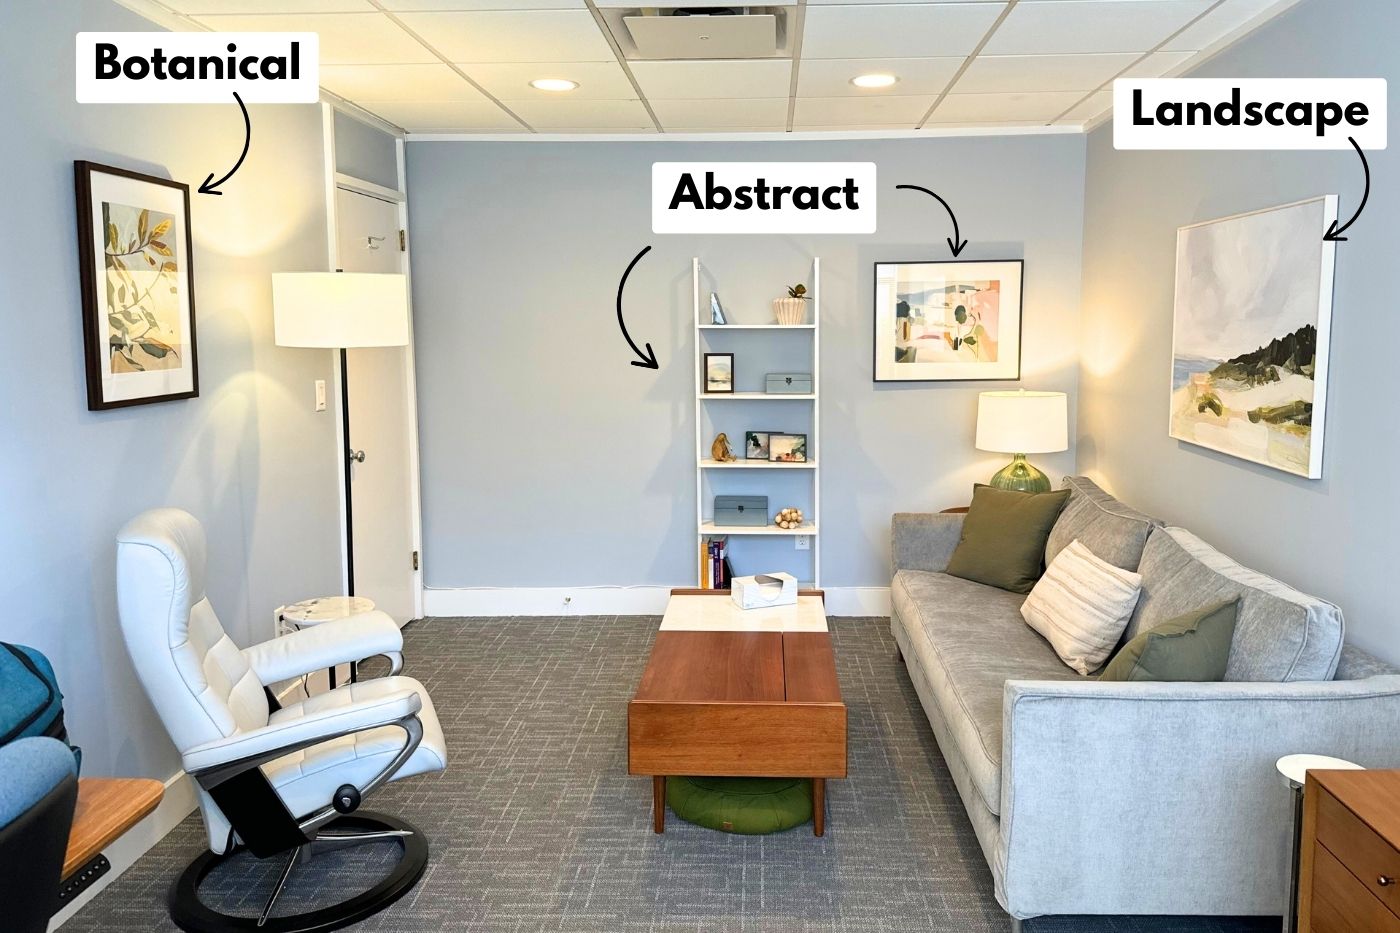
My design plan flipped this layout, putting the talk therapy zone near the entry and the play therapy zone and overlapping work zone in the back of the room.
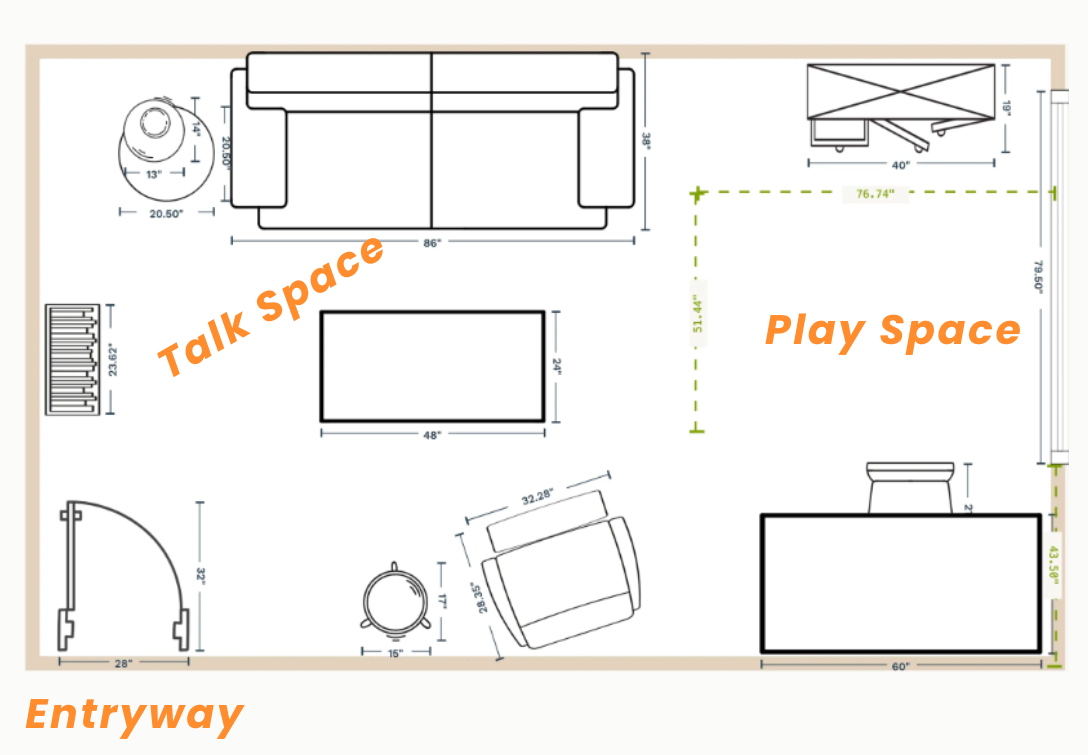
If there’s room for it, I like putting desks farther away from office entryways, because desks are usually the least aesthetically pleasing elements in our offices. Plus, the work on our desks tends to require privacy and discretion. A tucked away desk feels more appropriate.
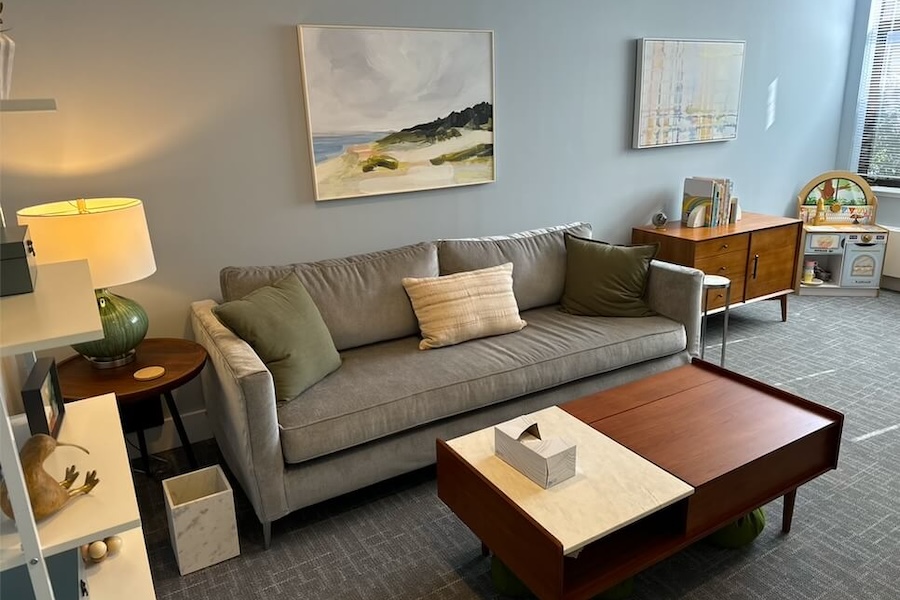
The “after” photos highlight the power of a functional design layout.
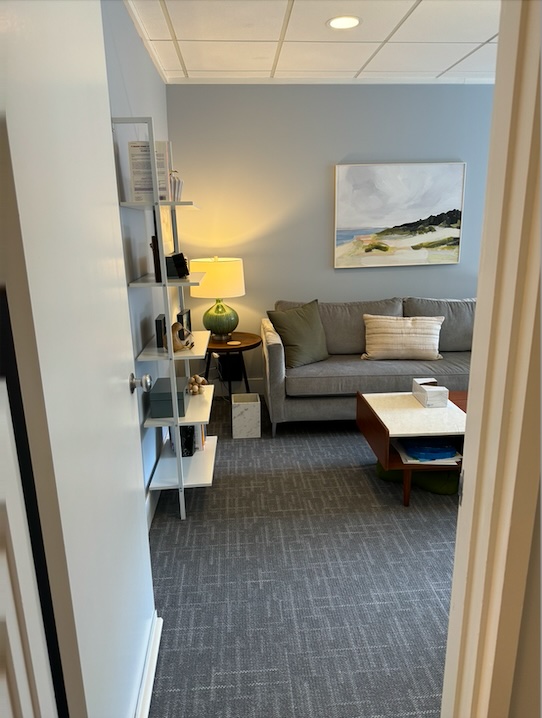
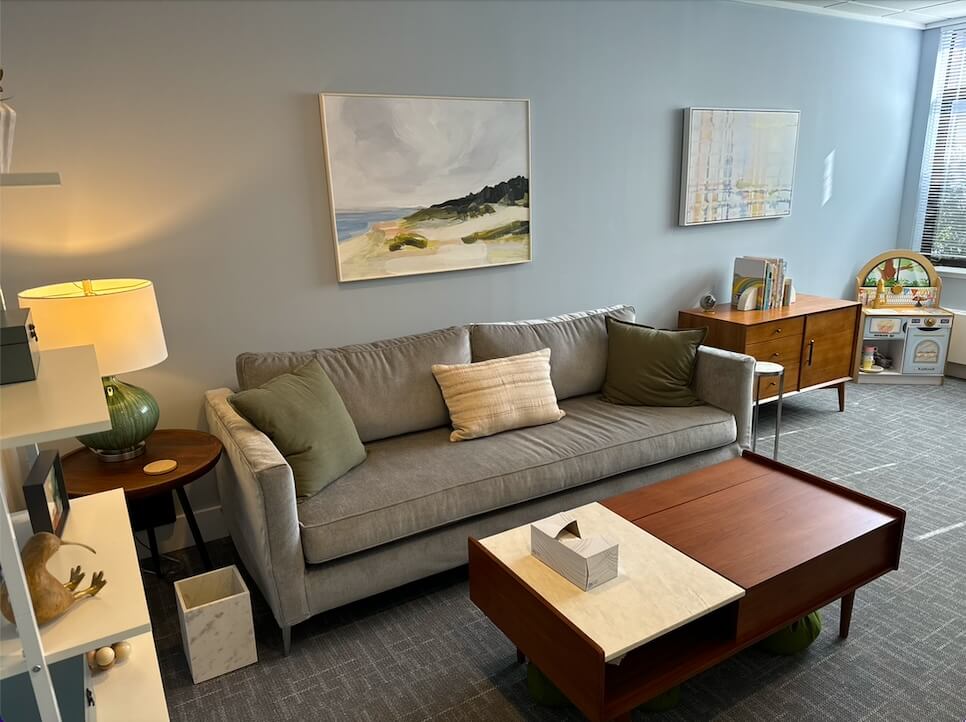
With this new layout, clients are now greeted by the talk therapy zone, creating a more aesthetically pleasing and welcoming atmosphere. The spatial message to clients when they first walk in is, “This is where you sit, this is where I sit. Let’s get to work.”
